Installation and Configuration
This section presents installation and configuration steps for OpenSAS server, OpenSAS dashboard, and CBSDs in linux environment. OpenSAS and its dashboard can be installed from source or using Docker. The following sections provide detailed instructions for each method.
Building OpenSAS from Source
The Core/ folder contains everything required to launch the SAS Core Server. Regardless of your institution, this contains the code that is of primary interest for SAS researchers.
Clone the Repository
In this method, the repository is cloned locally. This is the way to go if HTTPS is required.
First clone the repository using git
git clone https://github.com/CCI-NextG-Testbed/OpenSAS
Generate Certificates
Next, create the CA and server/client certificates using the create_ssl_certs.sh script. Go into the /Core/Certs folder and run the script.
cd OpenSAS/Core/Certs
sudo chmod +x create_ssl_certs.sh
Before running the script, make sure to delete the existing ca.cert and all other .key, .crt, and .csr files. The only files remaining should be create_ssl_certs.sh and create_client_certs.sh. The create_client_certs.sh can be used to create client certs for each new client. Once existing certs are deleted, run the script.
./create_ssl_certs.sh
Enter the IP of the machine running OpenSAS and CBSD client. If making the requests locally, the IP/hostname can be 127.0.0.1.
This will create certificate for the server and one CBSD client in the Certs folder. Copy the ca.cert, client-<IP/hostname>-0.cert, and client-<IP/hostname>-0.key files to the client machine (CBSD) to make HTTPS requests. To generate more CBSD client certificates, run the create_client_certs.sh script.

Figure: Certificate Generation.
Update Server Configuration
Update the paths to the server certificate and key in Core/server.py. The following code snipped show which paths to update.
httpd = HTTPServer(('0.0.0.0', 1443), SimpleHTTPRequestHandler)
 httpd.socket = ssl.wrap_socket (httpd.socket,
        keyfile="Certs/server_10.147.20.60.key",                       //Update this to reflect the new server key
        certfile='Certs/server_10.147.20.60.crt', server_side=True)    //Update this to reflect the new server cert
 print("Listening on port 1443")
 httpd.serve_forever()
Install Requirements
Finally, before starting the server, install all the requirements (packages) by running pip3 install as follows:
pip3 install -r requirements.txt
This will install all the required packages such as requests, python-engine.io. For the communication between the frontend and core to work, the python-socketio and vue-socket.io versions should be compatible. The versions specified in the requirements.txt are tested to be compatible.

Figure: Installation Requirements.
Run the OpenSAS Server
Start the OpenSAS server:
cd ../
python3 server.py
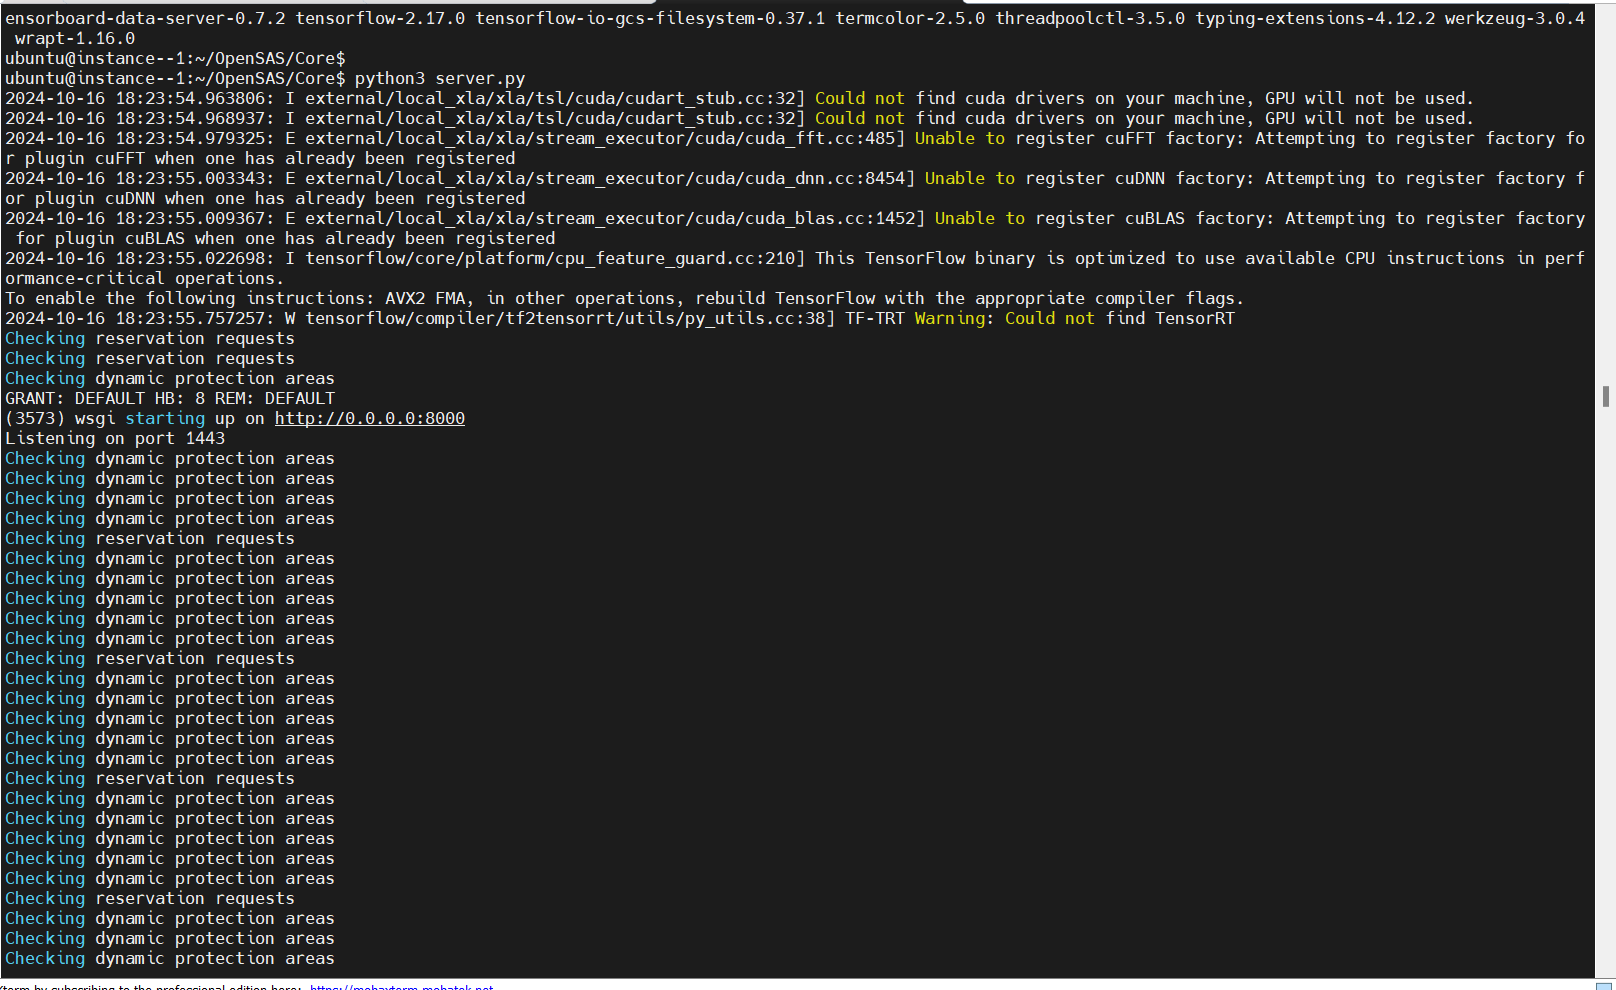
Figure: OpenSAS Server Running.
The OpenSAS server will start listening for HTTPS requests from CBSDs.
CBSDs can access the SAS via the following URL endpoints:
https://<IP/hostname>:1443/sas-api/<request>
Examples:
https://127.0.0.1:1443/sas-api/registration
https://192.168.0.110:1443/sas-api/registration
https://localhost:1443/sas-api/spectrumInquiry
https://localhost:1443/sas-api/grant
https://localhost:1443/sas-api/heartbeat
https://localhost:1443/sas-api/relinquishment
https://localhost:1443/sas-api/deregistration
These endpoints allow CBSDs to perform various actions such as registration, spectrum inquiry, grant requests, heartbeats, relinquishment, and deregistration with the OpenSAS server.
Building OpenSAS Dashboard from Source
Clone the Repository
git clone https://github.com/CCI-NextG-Testbed/OpenSAS-dashboard/
Install npm
Install npm if it’s not already installed:
sudo apt-get install npm
Install Dependencies
From the cloned directory, install dependencies:
cd OpenSAS-dashboard
npm install --legacy-peer-deps
Configure and Run the Dashboard
Set the IP and port to the OpenSAS SocketIO in the configuration files.
If the OpenSAS core is running on a different VM or machine, use its IP; else it will be localhost.
The port on OpenSAS is set to 8000.
In your configuration file (e.g., main.js), update the connection settings:
Vue.use(new VueSocketIO({
   debug: true,
   connection: 'http://10.147.20.114:8000',
   options: { transports: ['websocket', 'polling', 'flashsocket'] } // Optional options
}))
Then, start the dashboard:
npm run dev
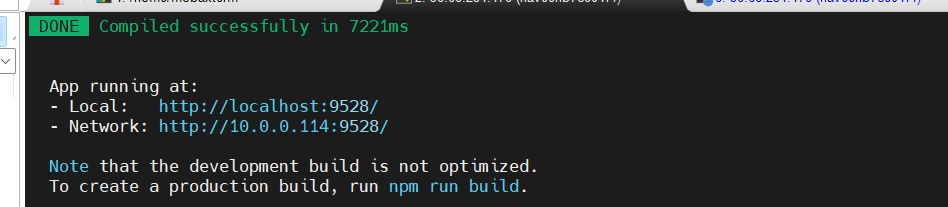
Figure: OpenSAS Dashboard Running.
Access the dashboard at http://localhost:9528/ or http://<host-machine-ip>:9528.
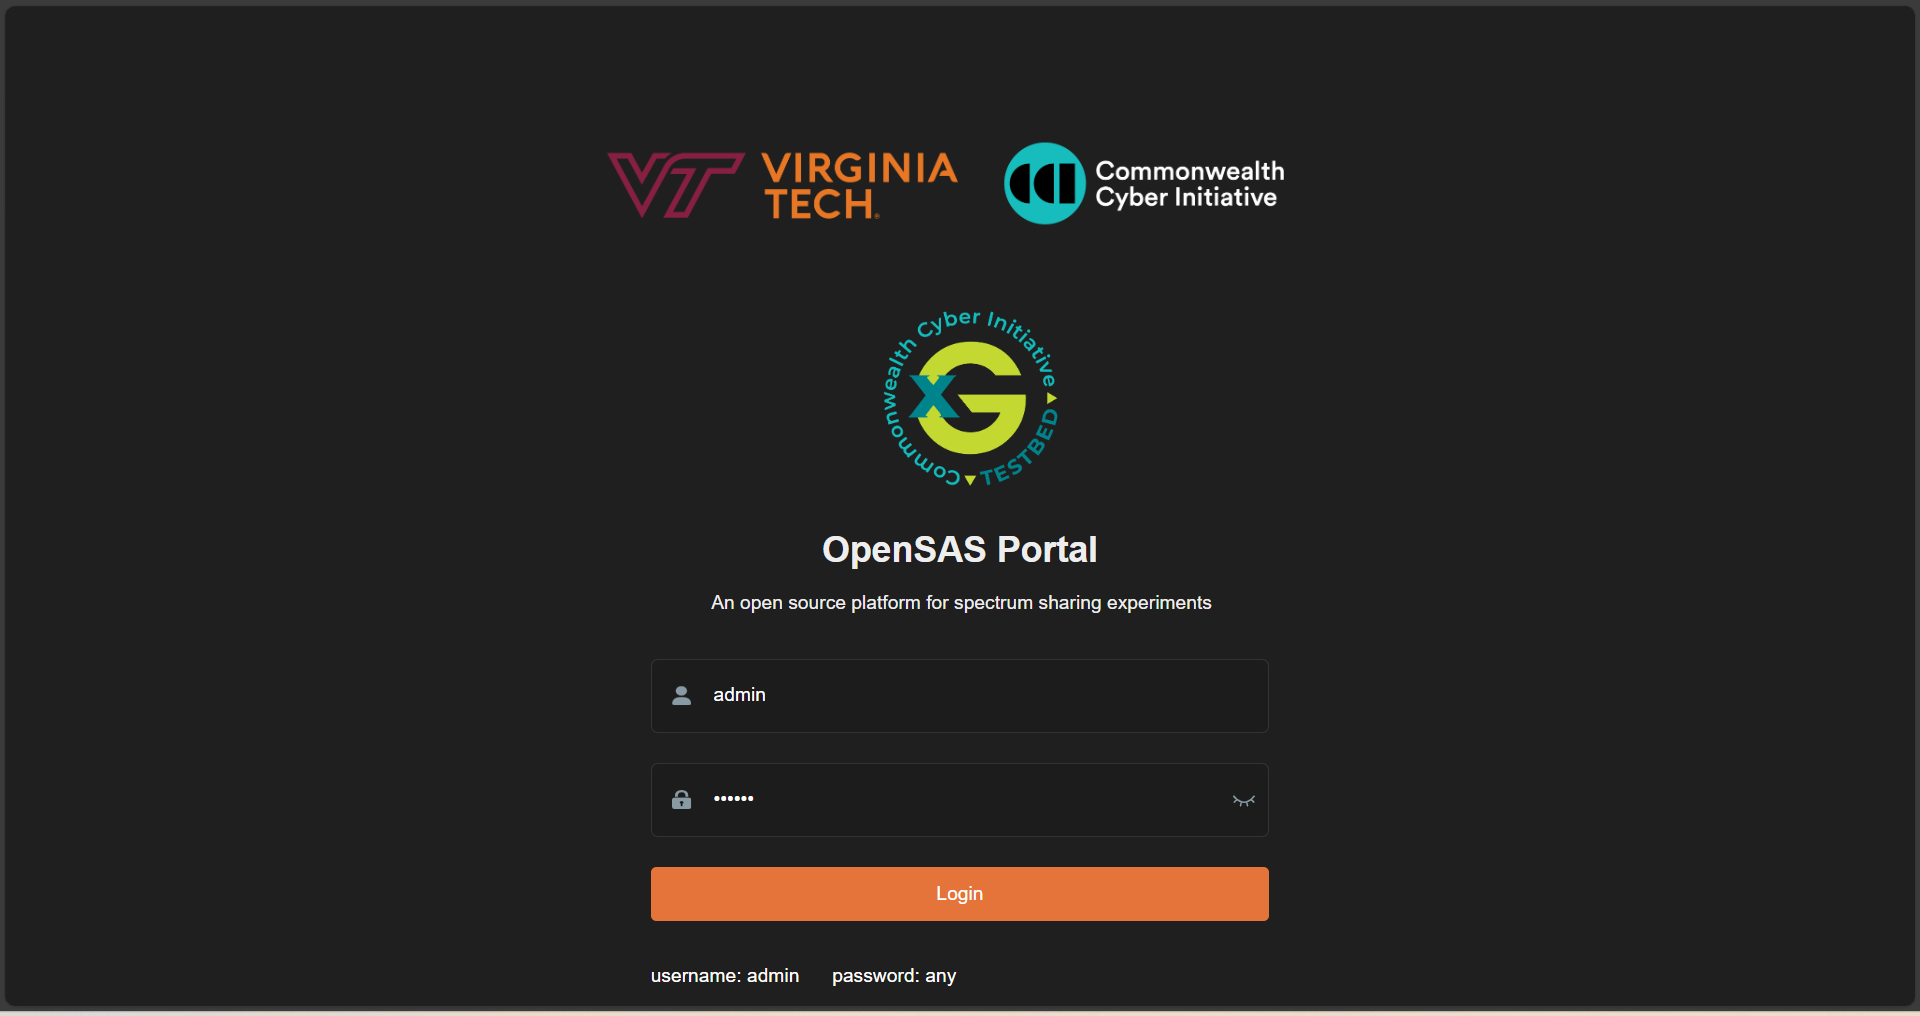
Figure: OpenSAS Dashboard Login Page.
You can view the list of CBSDs here.
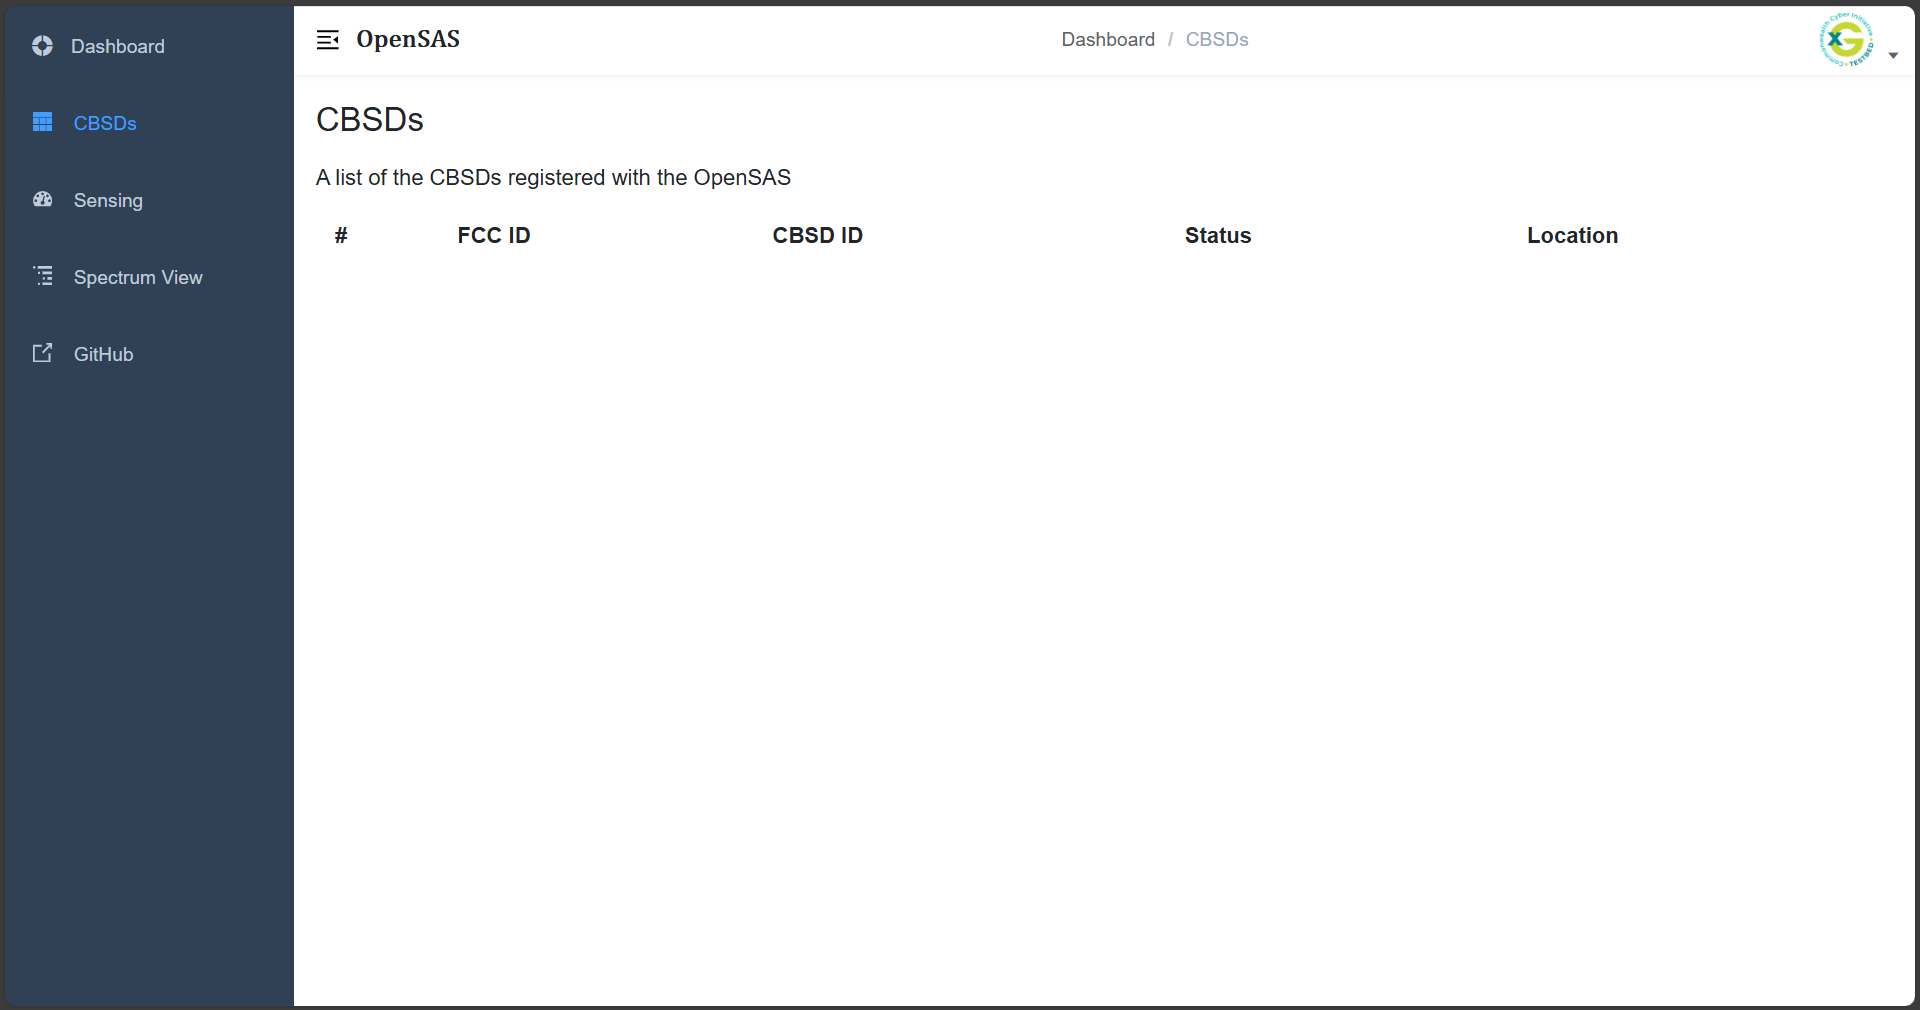
Figure: CBSD List on Dashboard.
Build from Docker Image of OpenSAS and OpenSAS Dashboard
Alternatively, you can build and run OpenSAS using Docker. The Dockerfile provides an easy way to get started.
Install Docker Engine
Update your package lists and install Docker:
sudo apt update
sudo apt install docker.io
Clone the Docker Repository
git clone https://github.com/CCI-NextG-Testbed/OpenSASDocker.git
cd OpenSASDocker
Build the Docker Image
sudo docker build . --tag=opensas-server-dash --no-cache
Run the OpenSAS Container
docker run --network=host --name=opensas-container -it --privileged opensas-server-dash
The OpenSAS core and dashboard services will start automatically.
This starts the two services:
The OpenSAS core, which will listen to HTTPS requests from CBSDs.
The OpenSAS dashboard webserver.
The web portal can be accessed via http://localhost:9528/.
The CBSDs can access the SAS via the following URL endpoints:
https://localhost:1443/sas-api/registration
https://localhost:1443/sas-api/spectrumInquiry
https://localhost:1443/sas-api/grant
https://localhost:1443/sas-api/heartbeat
https://localhost:1443/sas-api/relinquishment
https://localhost:1443/sas-api/deregistration
CBSD Client for OpenSAS
CBSD consists of a CBSD client and a 4G/5G gNB. The CBSD client is responsible for communicating with the OpenSAS server to register, request spectrum, and perform other actions. Once CBSD client receives the grant from the SAS, it communicates with the gNB to start transmitting on the assigned frequency. Open-source 4G/5G stacks can be used for end-to-end deployment in the CBRS ecosystem, however it is not mandatory to have over-the-air 4G/5G setup. ZMQ or simulated-RF can also be used. For 4G/5G gNB installation, refer to the srsRAN/OAI documentation. We use tmux terminal to trigger gNB operation, once the grant is received from the SAS.
1. Clone the Repository
git clone https://github.com/CCI-NextG-Testbed/CBSD
cd CBSD
2. Install TMUX and Copy the Certificates
Make sure that the tmux is installed on CBSD machine and client Certs are generated in OpenSAS server with client’s machine IP (accessible from other VMs) and placed in the Certs folder here. Also, the proper gnb yml file is copied from your srsRAN/configs folder. modify the run.py script to include any specific srsRAN config file. Make appropriate changes in the run.py and CBSD.py.
3. Modify run.py
Modify run.py to add you gnb yml file name
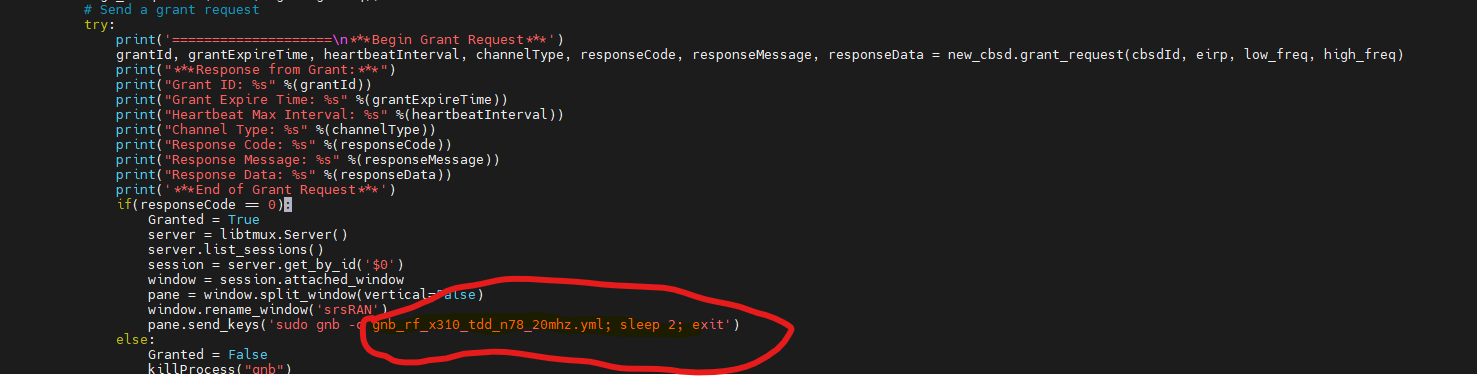
Figure: run.py snippet.
4. Modify CBSD.py
Modify CBSD.py to inculde OpenSAS IP and proper CBSD client certificate path:
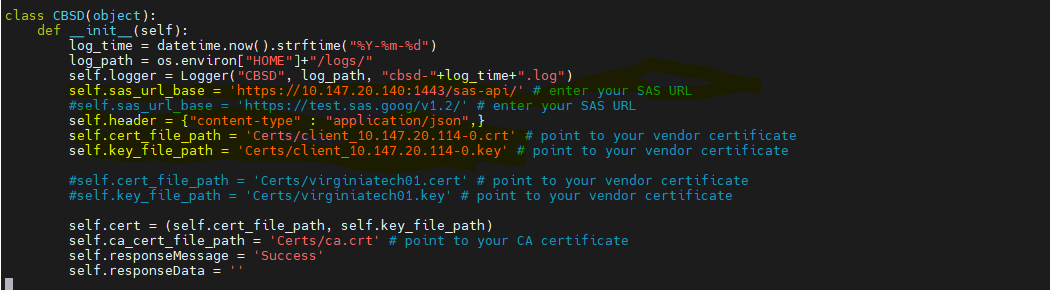
Figure: cbsd.py snippet.